Plants
Planting Starts Here
A wheelbarrow full of flowers can make planting look like the easy part. In practice, most planting problems begin earlier: choosing a poor site, planting at the wrong depth, disturbing roots unnecessarily, or watering by habit instead of checking the soil.
A better planting day is less about speed and more about reading the conditions before you start.
Read the Site First
A plant may be healthy when you buy it and still struggle if the location does not suit it.
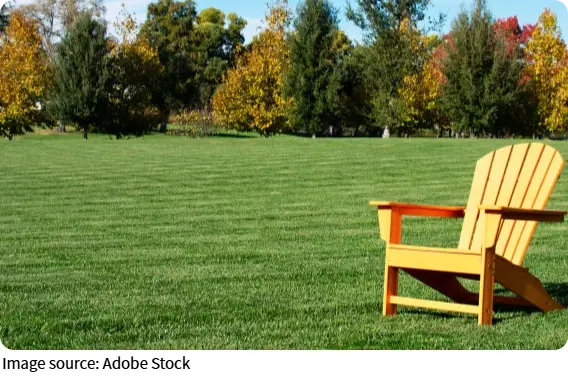
Watch light across the day
"Sunny" is too vague to be useful.
A spot that receives strong morning light and afternoon shade behaves differently from one exposed to hot late-day sun. Before planting, observe the area at least twice—once earlier and once later in the day.
If the plant label calls for full sun, that generally means several hours of direct light, but the exact tolerance still depends on the species and local climate.
Do not assume that a bright-looking spot is automatically suitable.
Check drainage with water, not guesswork
Dig a small test hole, fill it with water, and watch how quickly it drains.
If water remains pooled for many hours, the soil may stay too wet for plants that prefer free drainage. If it disappears almost immediately and the soil dries very quickly afterward, moisture may be difficult to maintain.
The goal is not to force every plant into the same soil. It is to match the plant to the site or improve the planting area appropriately.
Inspect the Root Ball
The top of a plant tells only half the story.
Slide the container off carefully
Healthy container roots often hold the soil together without forming an impenetrable mass.
If roots are circling tightly around the outside, gently loosen the outer layer before planting. You do not need to aggressively tear the entire root ball apart.
If the roots are sparse and the soil falls away immediately, handle the plant more carefully, as the root system may not yet hold the compost firmly.
Look for the original soil line
For many garden plants, planting dramatically deeper than the level they occupied in the container can create problems.
Use the existing soil line as your starting reference unless that specific plant has different requirements.
Once placed in the hole, the top of the root ball should usually sit close to the surrounding soil level rather than disappearing several centimeters below it.
Make the Hole Wider
A deep, narrow hole is not automatically better.
Think sideways
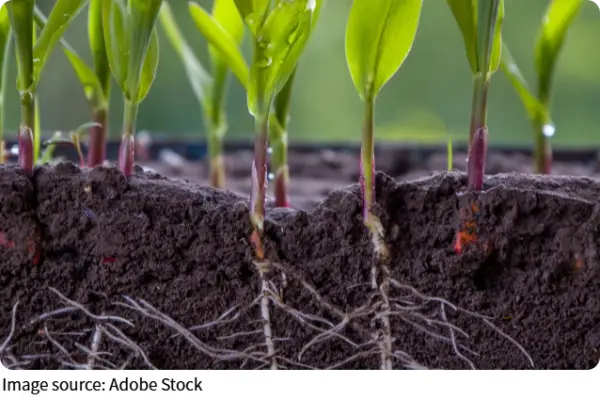
New roots need to grow outward into surrounding soil.
A planting hole wider than the root ball gives you room to loosen compacted soil around the sides and position the plant without bending roots.
Avoid creating a very deep pocket of loose soil underneath the root ball. That soil can settle after watering, leaving the plant sitting lower than intended.
Firm the base gently before placing the plant.
Water the Root Zone
Watering after planting is not simply a ceremonial final step.
Soak, then check
Water slowly around the root ball so the surrounding soil becomes evenly moist.
A light sprinkle may wet only the surface while leaving the root zone relatively dry.
After watering, push a finger a few centimeters into the nearby soil. If the surface is wet but the soil underneath is dry, more water may be needed.
For the next few days, check the soil rather than watering on a fixed daily schedule.
Hot weather, wind, container size, soil texture, and plant type all change how quickly moisture is lost.
Do Not Feed Immediately
More fertilizer does not necessarily make a newly planted flower establish faster.
Prioritize roots first
Freshly planted roots are adjusting to new soil and moisture conditions.
Unless the plant or soil specifically requires feeding, strong fertilizer at planting time is often unnecessary. Excess soluble fertilizer can stress roots, particularly when the soil is already dry.
Start with suitable soil, correct planting depth, and consistent moisture.
Feeding can be considered later, depending on the needs of the particular plant.
Use Mulch Carefully
Mulch can reduce water loss and limit growth, but placement matters.
Leave the stem clear
Spread organic mulch around the plant rather than piling it directly against the stem or crown.
A layer of roughly 5–8 cm is commonly practical in garden beds, depending on the material.
Keep a small gap immediately around the base of the plant so moisture is not constantly trapped against the stem.
Mulch should cover soil, not bury the plant.
Know When to Delay
Sometimes the best planting decision is to wait.
Avoid stressful extremes
Very hot afternoons, strongly waterlogged soil, or extremely dry ground make planting harder for both the gardener and the plant.
If possible, choose a cooler part of the day and water dry container plants before transplanting.
Also avoid digging saturated soil repeatedly. Working very wet soil can compress its structure, especially in heavier soils.
Waiting for better conditions may save more effort than trying to correct damage afterward.
Successful planting begins before the first hole is dug. Check light, drainage, root condition, planting depth, and soil moisture first. Then water the root zone thoroughly, keep mulch away from the stem, and adjust care according to actual conditions rather than routine. A few minutes of observation at planting time can prevent many of the problems that are harder to solve later.